How to make a color changing favicon
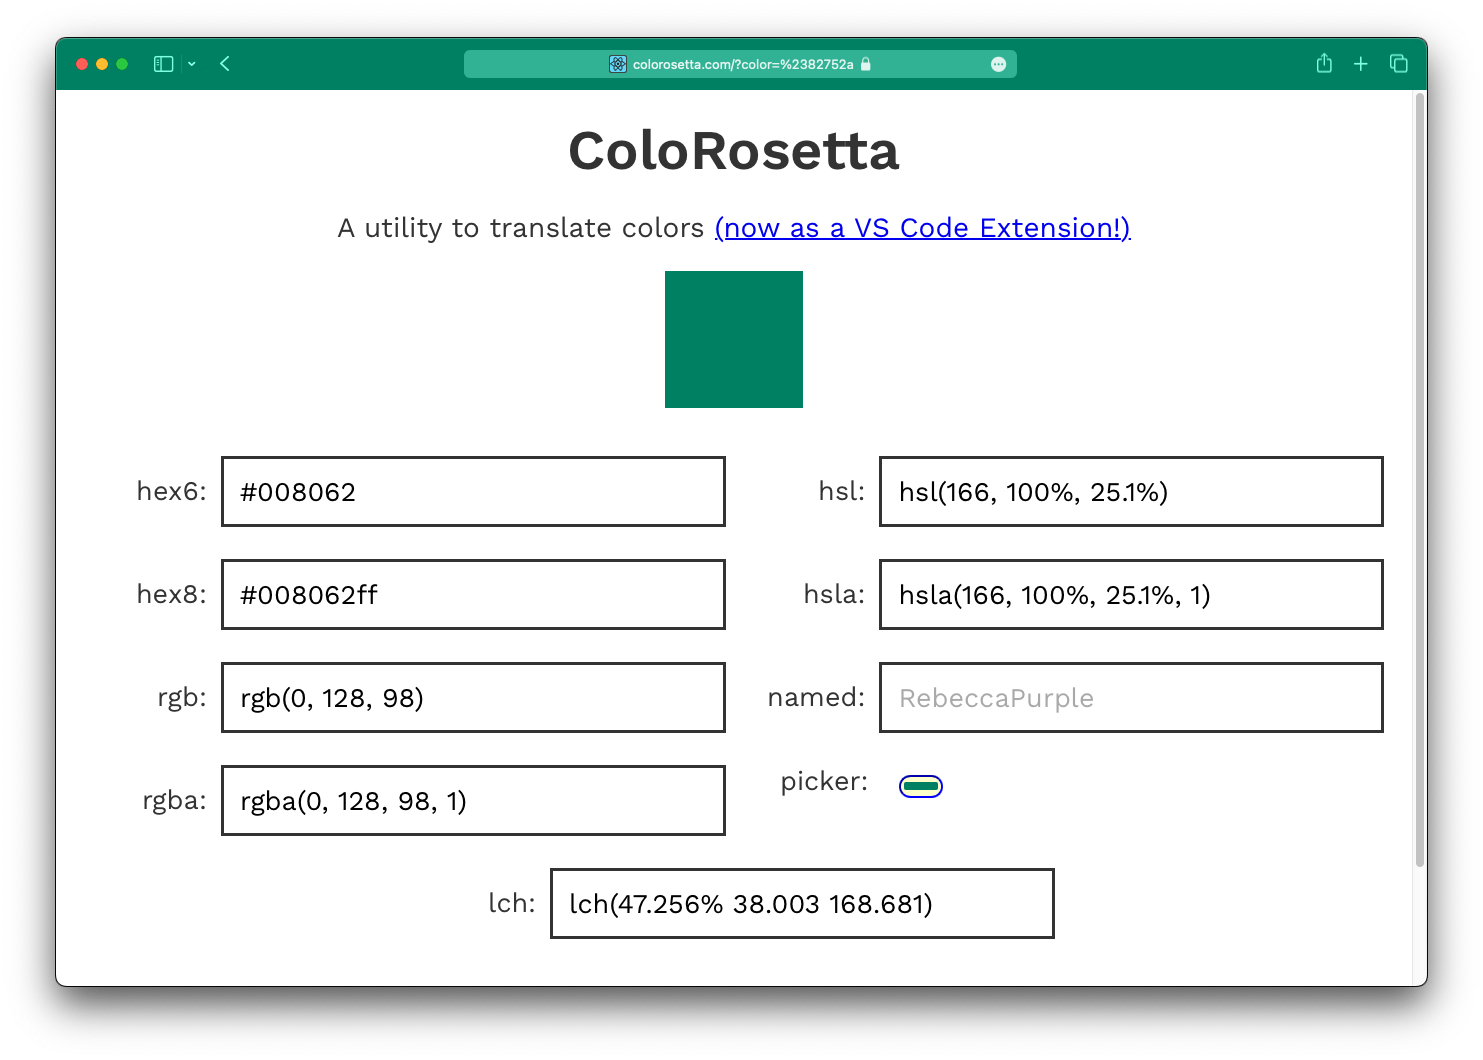
One of my favorite details of the ColoRosetta tool that I have built is the color changing favicon. It updates as you adjust the color in real time!
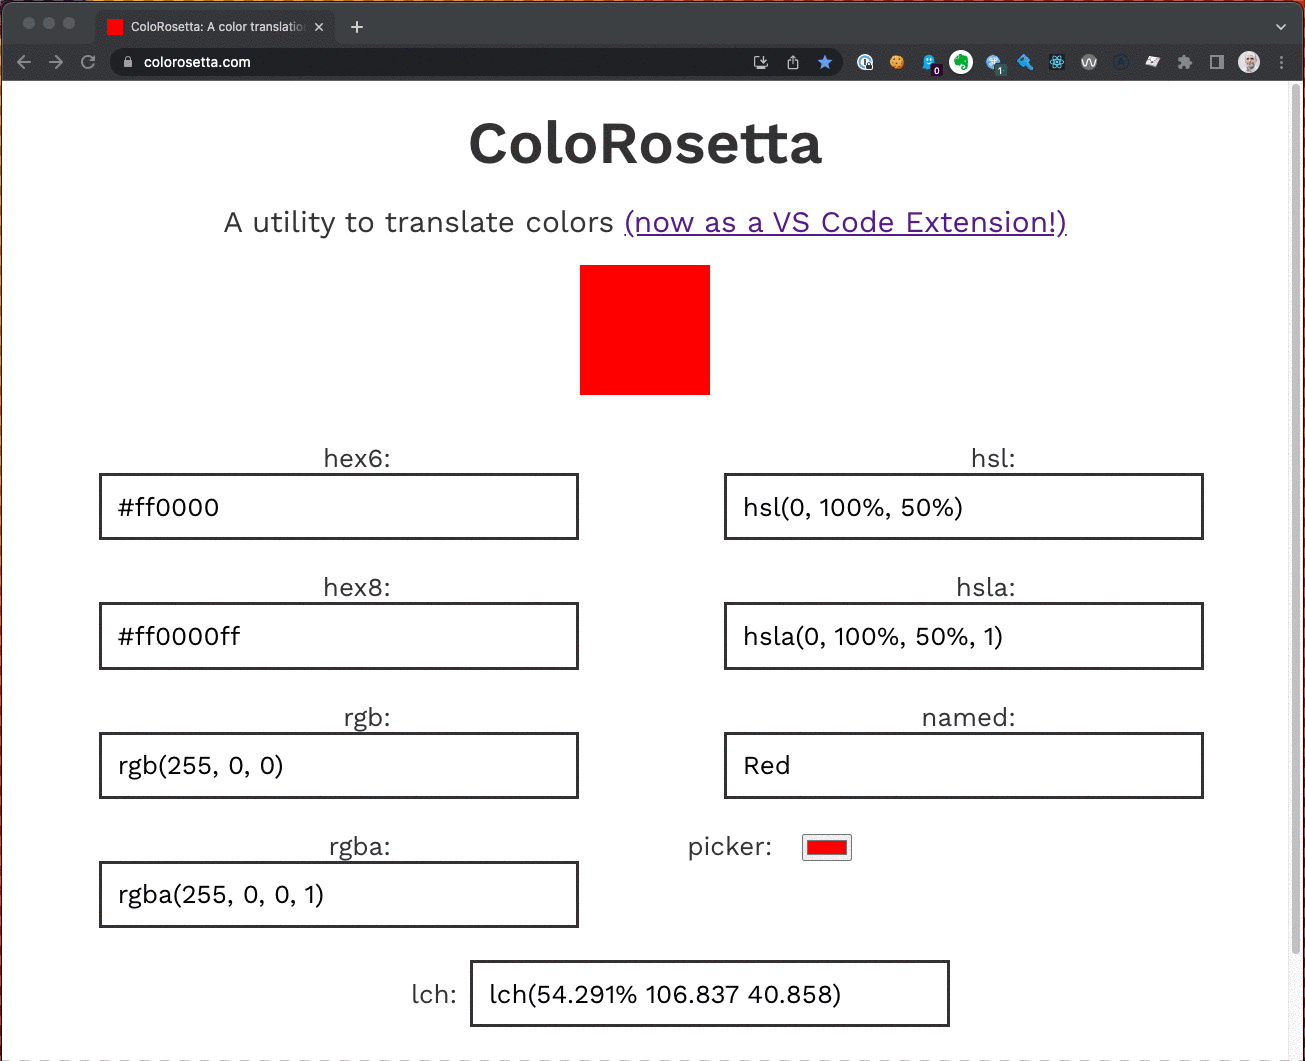
And if you are using the tool in Safari, the overall color scheme of the browser will also update in real time, via the theme-color meta tag.
In this blog post I want to share the function that does this and explain how it works.
First, some context - ColoRosetta is a small React app. When a user changes a color input, first that change is validated, then the color is passed to the root App component. Within that component we determine what kind of color it is, and pass both pieces of information to the colorFavicon function. That lives in it's own file:
import { translatedColor } from '../utils/translatedColor';

// the arguments incomingColor and incomingColor type are specific to ColoRosetta
// you don't necessarily need to have them
const colorFavicon = (incomingColor, incomingColorType) => {
    const img = new Image();
    const canvas = document.createElement('canvas');
    canvas.width = 32;
    canvas.height = 32;
    const ctx = canvas.getContext('2d');
    const link = document.querySelector("link[rel*='icon']") || document.createElement('link');
    link.type = 'image/x-icon';
    link.rel = 'shortcut icon';
    document.getElementsByTagName('head')[0].appendChild(link);
    // translatedColor is partiuclar to ColoRosetta - this can be whatever you want
    const color = translatedColor(incomingColor, incomingColorType, 'hex6');
    img.src = '';
    ctx.drawImage(img, 0, 0);
    ctx.fillStyle = color;
    ctx.fillRect(0, 0, 32, 32);
    link.href = canvas.toDataURL("image/x-icon");

    const meta = document.querySelector("meta[name='theme-color']") || document.createElement('meta');
    meta.name = "theme-color";
    document.getElementsByTagName('head')[0].appendChild(meta);
    meta.content = color;
}
The Favicon
The approach here is that we're going to make a new image & canvas on every color change, encode it as a string, and update the icon link element.
Full disclosure - I got a lot of this functionality from this Stack Overflow answer. What I've added here is the fact that it's updated dynamically by react.
Particularities of ColoRosetta
The arguments incomingColor and incomingColorType are particular to ColoRosetta. I need to know what the user's input actually is, and what kind of color that input is, which is determined by the point that they change a color elsewhere. I need those two pieces of information later to pass to my translatedColor function which transforms the color to a hex6 value.
These three pieces can be whatever you want - this was just how my app works.
Making an Image and Canvas
    const img = new Image();
    const canvas = document.createElement('canvas');
    canvas.width = 32;
    canvas.height = 32;
    const ctx = canvas.getContext('2d');
Here we make a new image, with, well, new Image(). We also make a 32 x 32 pixel canvas, and address it's 2d context (ctx). More on that in a minute.
Making the Link element
    const link = document.querySelector("link[rel*='icon']") || document.createElement('link');
    link.type = 'image/x-icon';
    link.rel = 'shortcut icon';
    document.getElementsByTagName('head')[0].appendChild(link);
Here we look for a link element with a rel attribute that includes icon - or we fall back to creating one. It's a bit belt-and-suspenders to have the fallback in my case, as I have control over the source HTML, but it's a good idea.
Once we have that link, we make sure it's type is image/x-icon and it's rel is shortcut icon. This is what tells the browser that this is a favicon.
We then append this link element to the head. Note - if we found a link element to begin with, this does not add more and more link elements - it replaces it.
Making sure the color is hex6
const color = translatedColor(incomingColor, incomingColorType, 'hex6');This is particular to ColoRosetta - incomingColor is the color coming from state in my application. The color that is set by the user can be one of many types. This function takes their input and ensures that it's translated to hex6 (e.g. #121212). We need a hex6 color in order for the color to work with the fillStyle attribute below.
Drawing the icon in Canvas
    img.src = '';
    ctx.drawImage(img, 0, 0);
    ctx.fillStyle = color;
    ctx.fillRect(0, 0, 32, 32);
Remember img? that was the new Image() that we made earlier. We'll need that for our canvas context.
We then get that context, ctx and drawImage using the empty img that we made.
Here is where we actually draw the favicon - we set fillStyle to our hex6 color, and make it a rectangle 32, 32 in size (which is also our canvas height and width).
Encoding the resulting Canvas
We now have a canvas with a 32 x 32 pixel image that's filled with the color that we want.
link.href = canvas.toDataURL("image/x-icon");We now encode it as a string with the toDataURL method, and set that string as the href for the link element that we're replacing/appending to the head.
The toDataURL method takes a image type argument - it defaults to image/png. We don't want that in the case of a favicon (though that is changing). We can set it to image/x-icon and we'll get an encoded image that a browser can handle as an icon.
Because this string gets updated every time that the application state changes, the browser will update the icon as it's getting displayed.
Meta Theme Color
I was pretty happy with the above function, but shortly after I added it, Safari added a new meta tag - theme-color which will cause the browser chrome to update it's color.
    const meta = document.querySelector("meta[name='theme-color']") || document.createElement('meta');
    meta.name = "theme-color";
    document.getElementsByTagName('head')[0].appendChild(meta);
    meta.content = color;
Here I'm largely following the same pattern as I did for the favicon. I look for a meta tag, make sure it's named theme-color. We simply replace the tag's content with color which we translated to hex6 earlier.
Conclusion
I hope this line-by-line explanation of how to make a dynamic favicon is helpful. Frankly, having to write out each piece of this made me understand it at a much deeper level. At the very least I hope it gives you ideas on how you can make elements of your applications more dynamic.